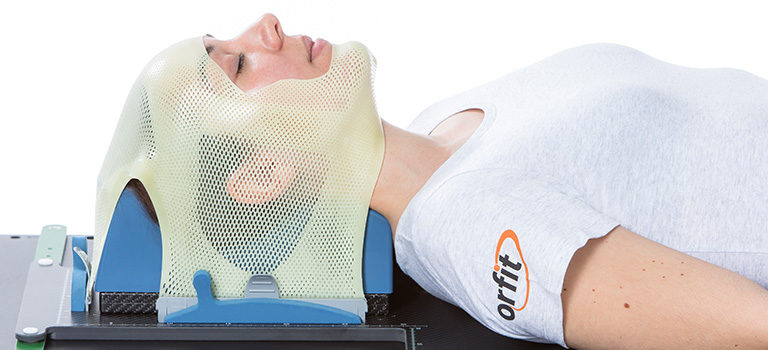
After interviewing staff who decorate masks in radiation therapy departments all over the world, we are confident that going that extra mile for a young patient means everything. A painted mask may comfort and help young children and their families through radiotherapy. It can reduce feelings of anxiety and claustrophobia. It might even prevent the use of anesthesia for each fraction.
Read the value in decoration of paediatric immobilization masks here.
To help anyone who is intrigued by all the creatively decorated masks out there, but does not know how or where to start, we created these tutorials.
Keep an eye out for the next tutorial in these series or subscribe to our newsletter to have them send to you.
We will break the tutorial down into small steps and show you which materials to use, where to find ideas and how to easily execute them.
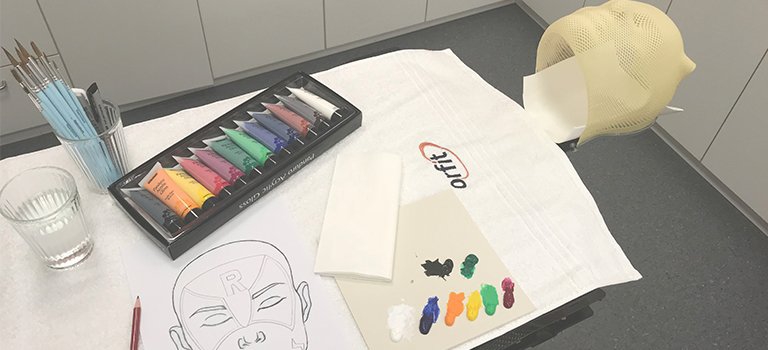
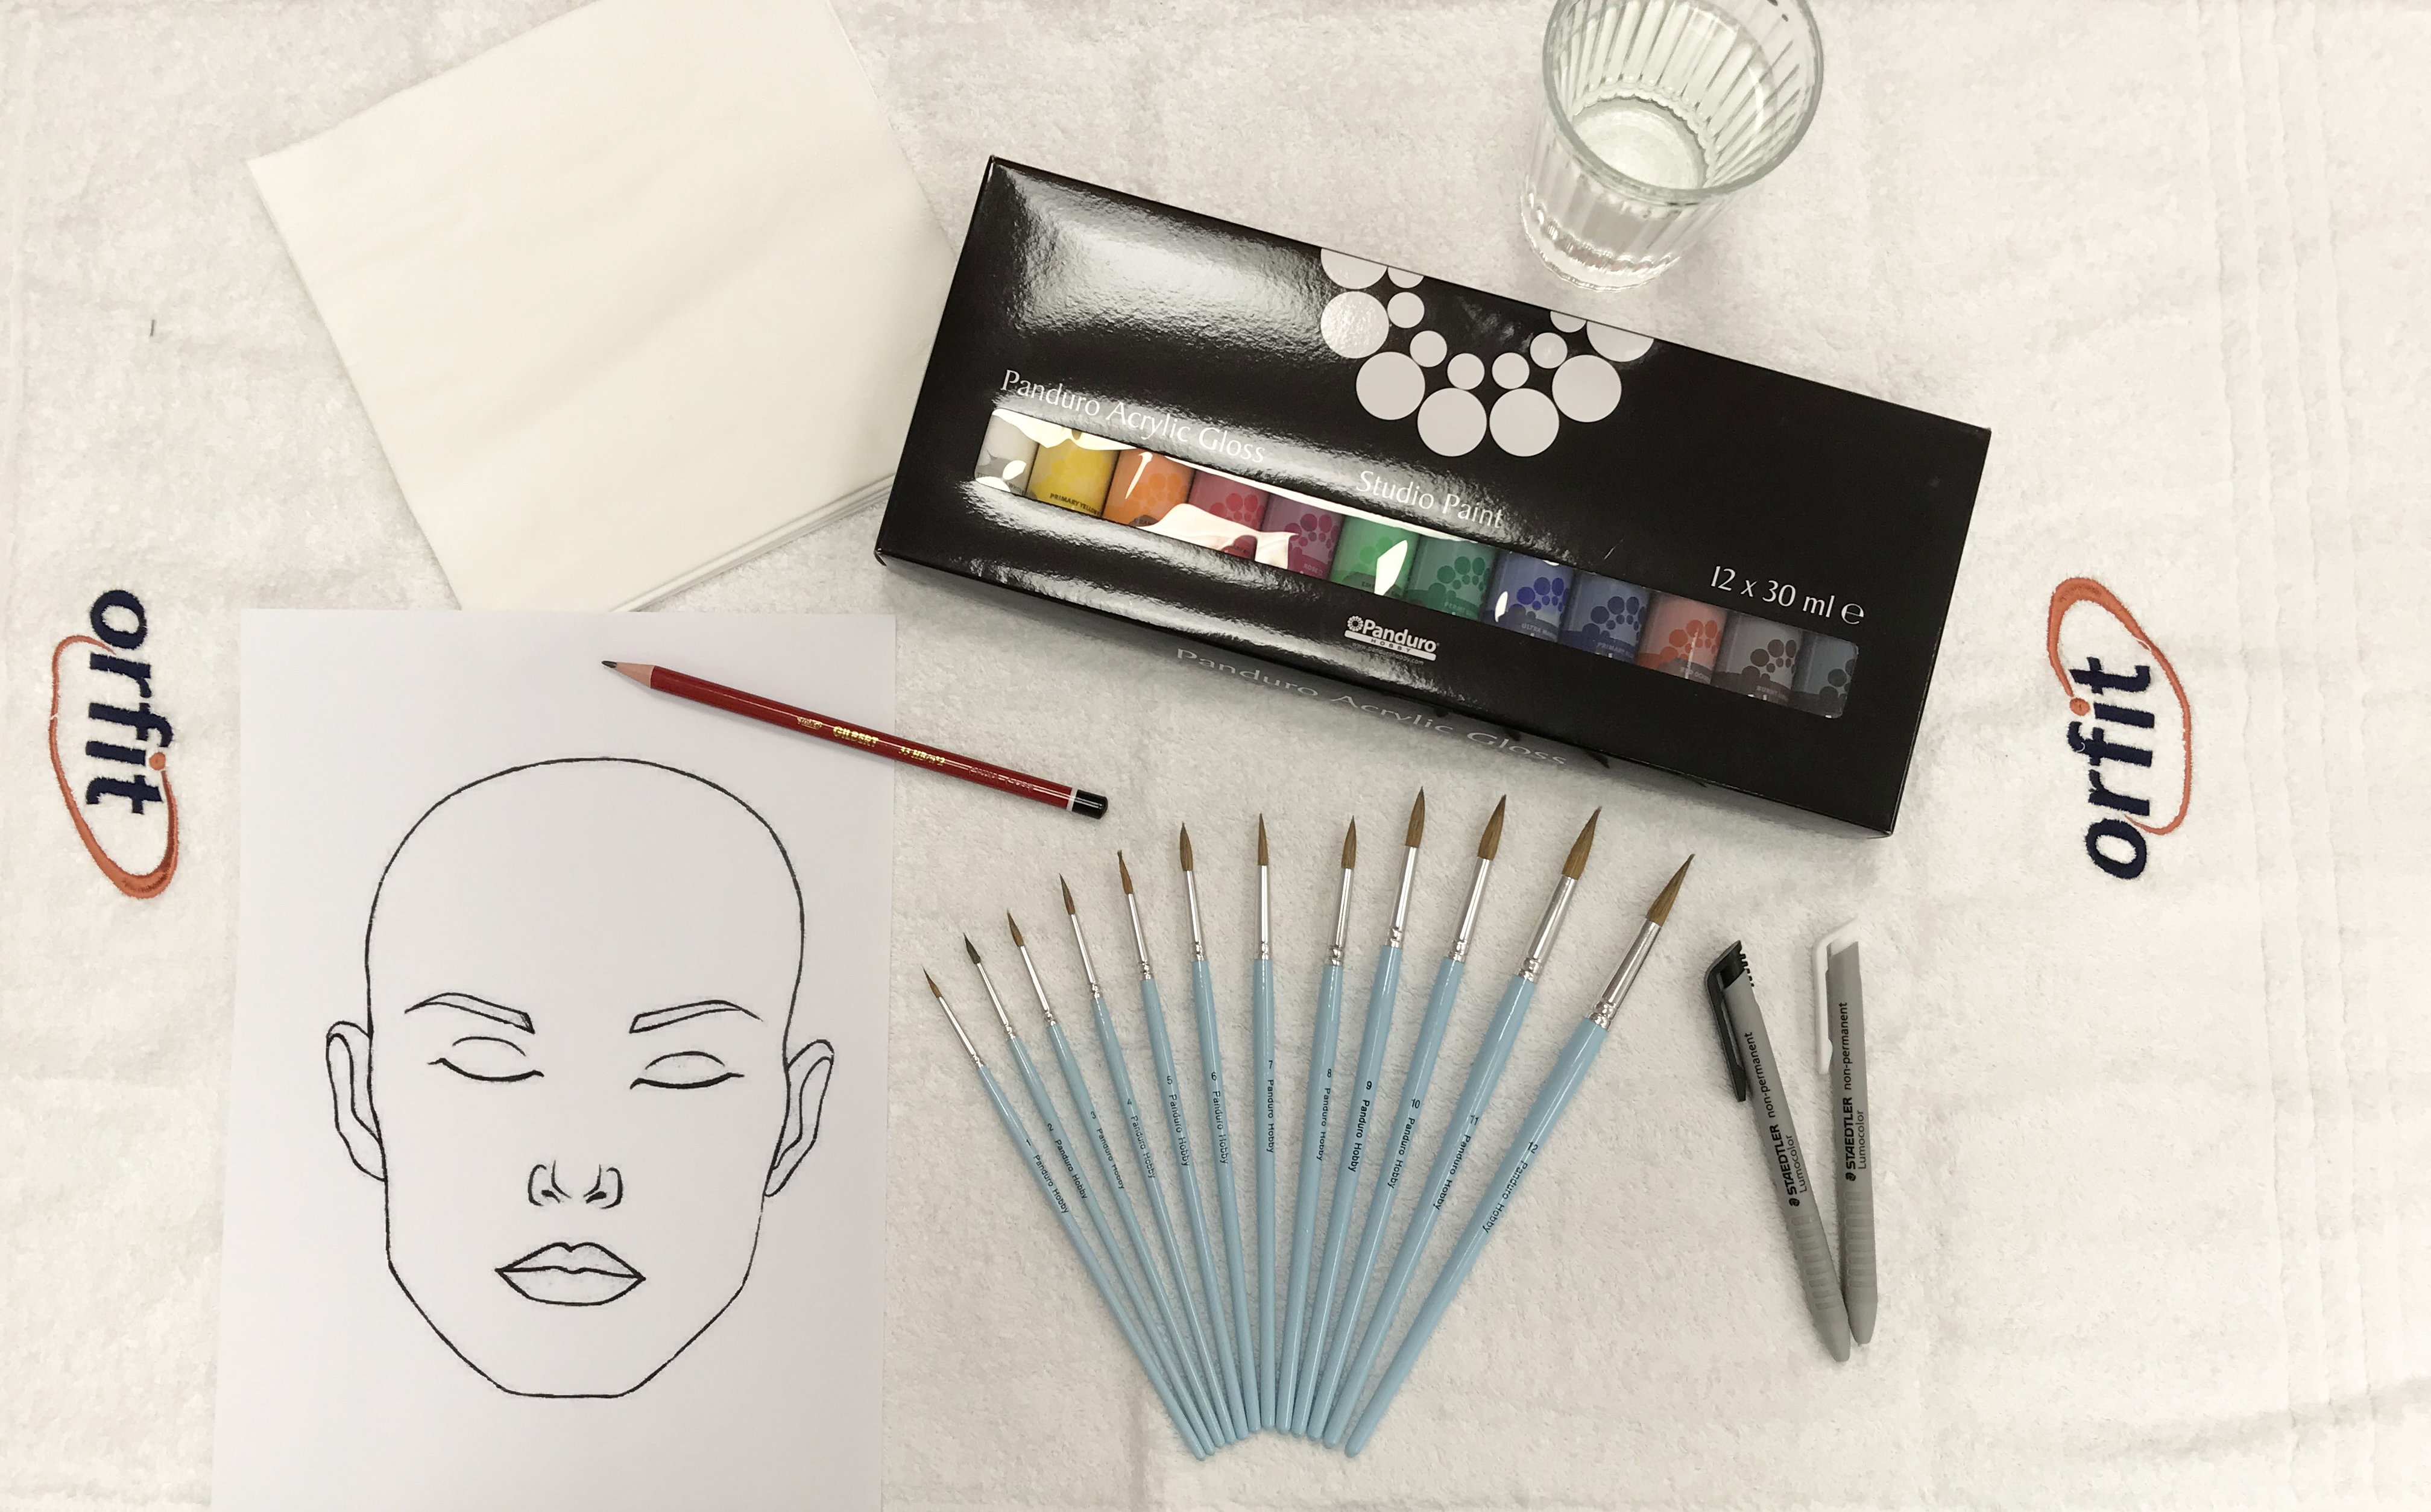
Before you set up, you will need the following materials:
- The moulded (paediatric) mask, completely hardened (minimum 24 hours after the moulding).
- Something to secure the mask on, e.g. a baseplate.
- A non-permanent water-soluble marker or a pencil.
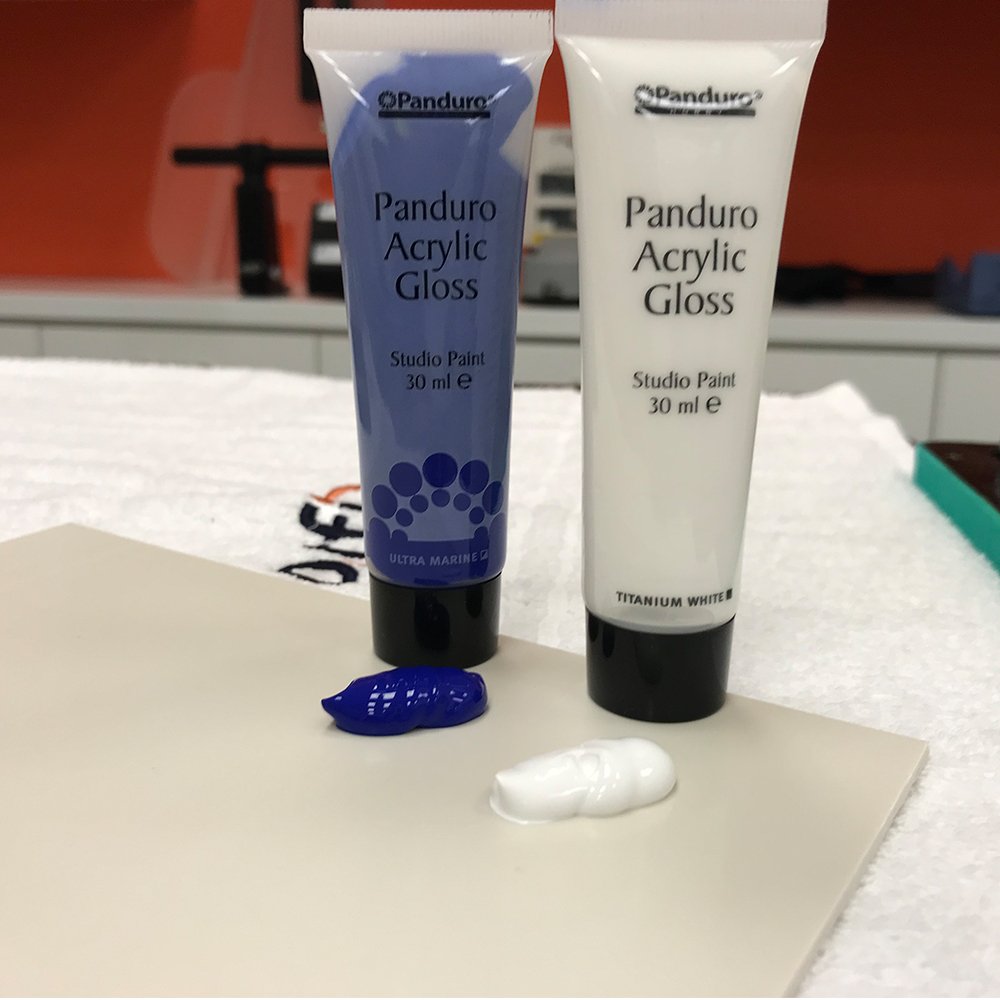
- Water based acrylic paints.
- A paper plate or piece of cardboard.
- Paintbrushes in various sizes.
- A cup of clean water.
- A paper towel or a guest towel.
- A template to draw out your design.
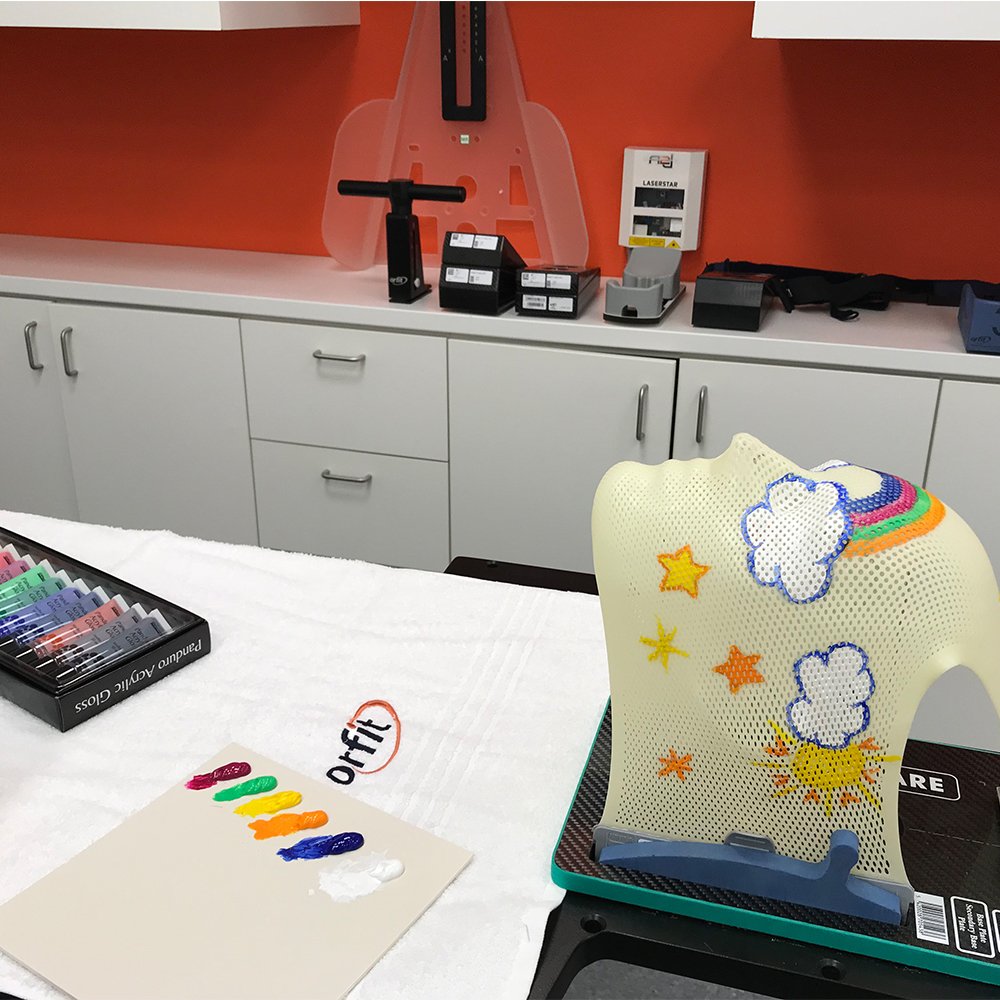
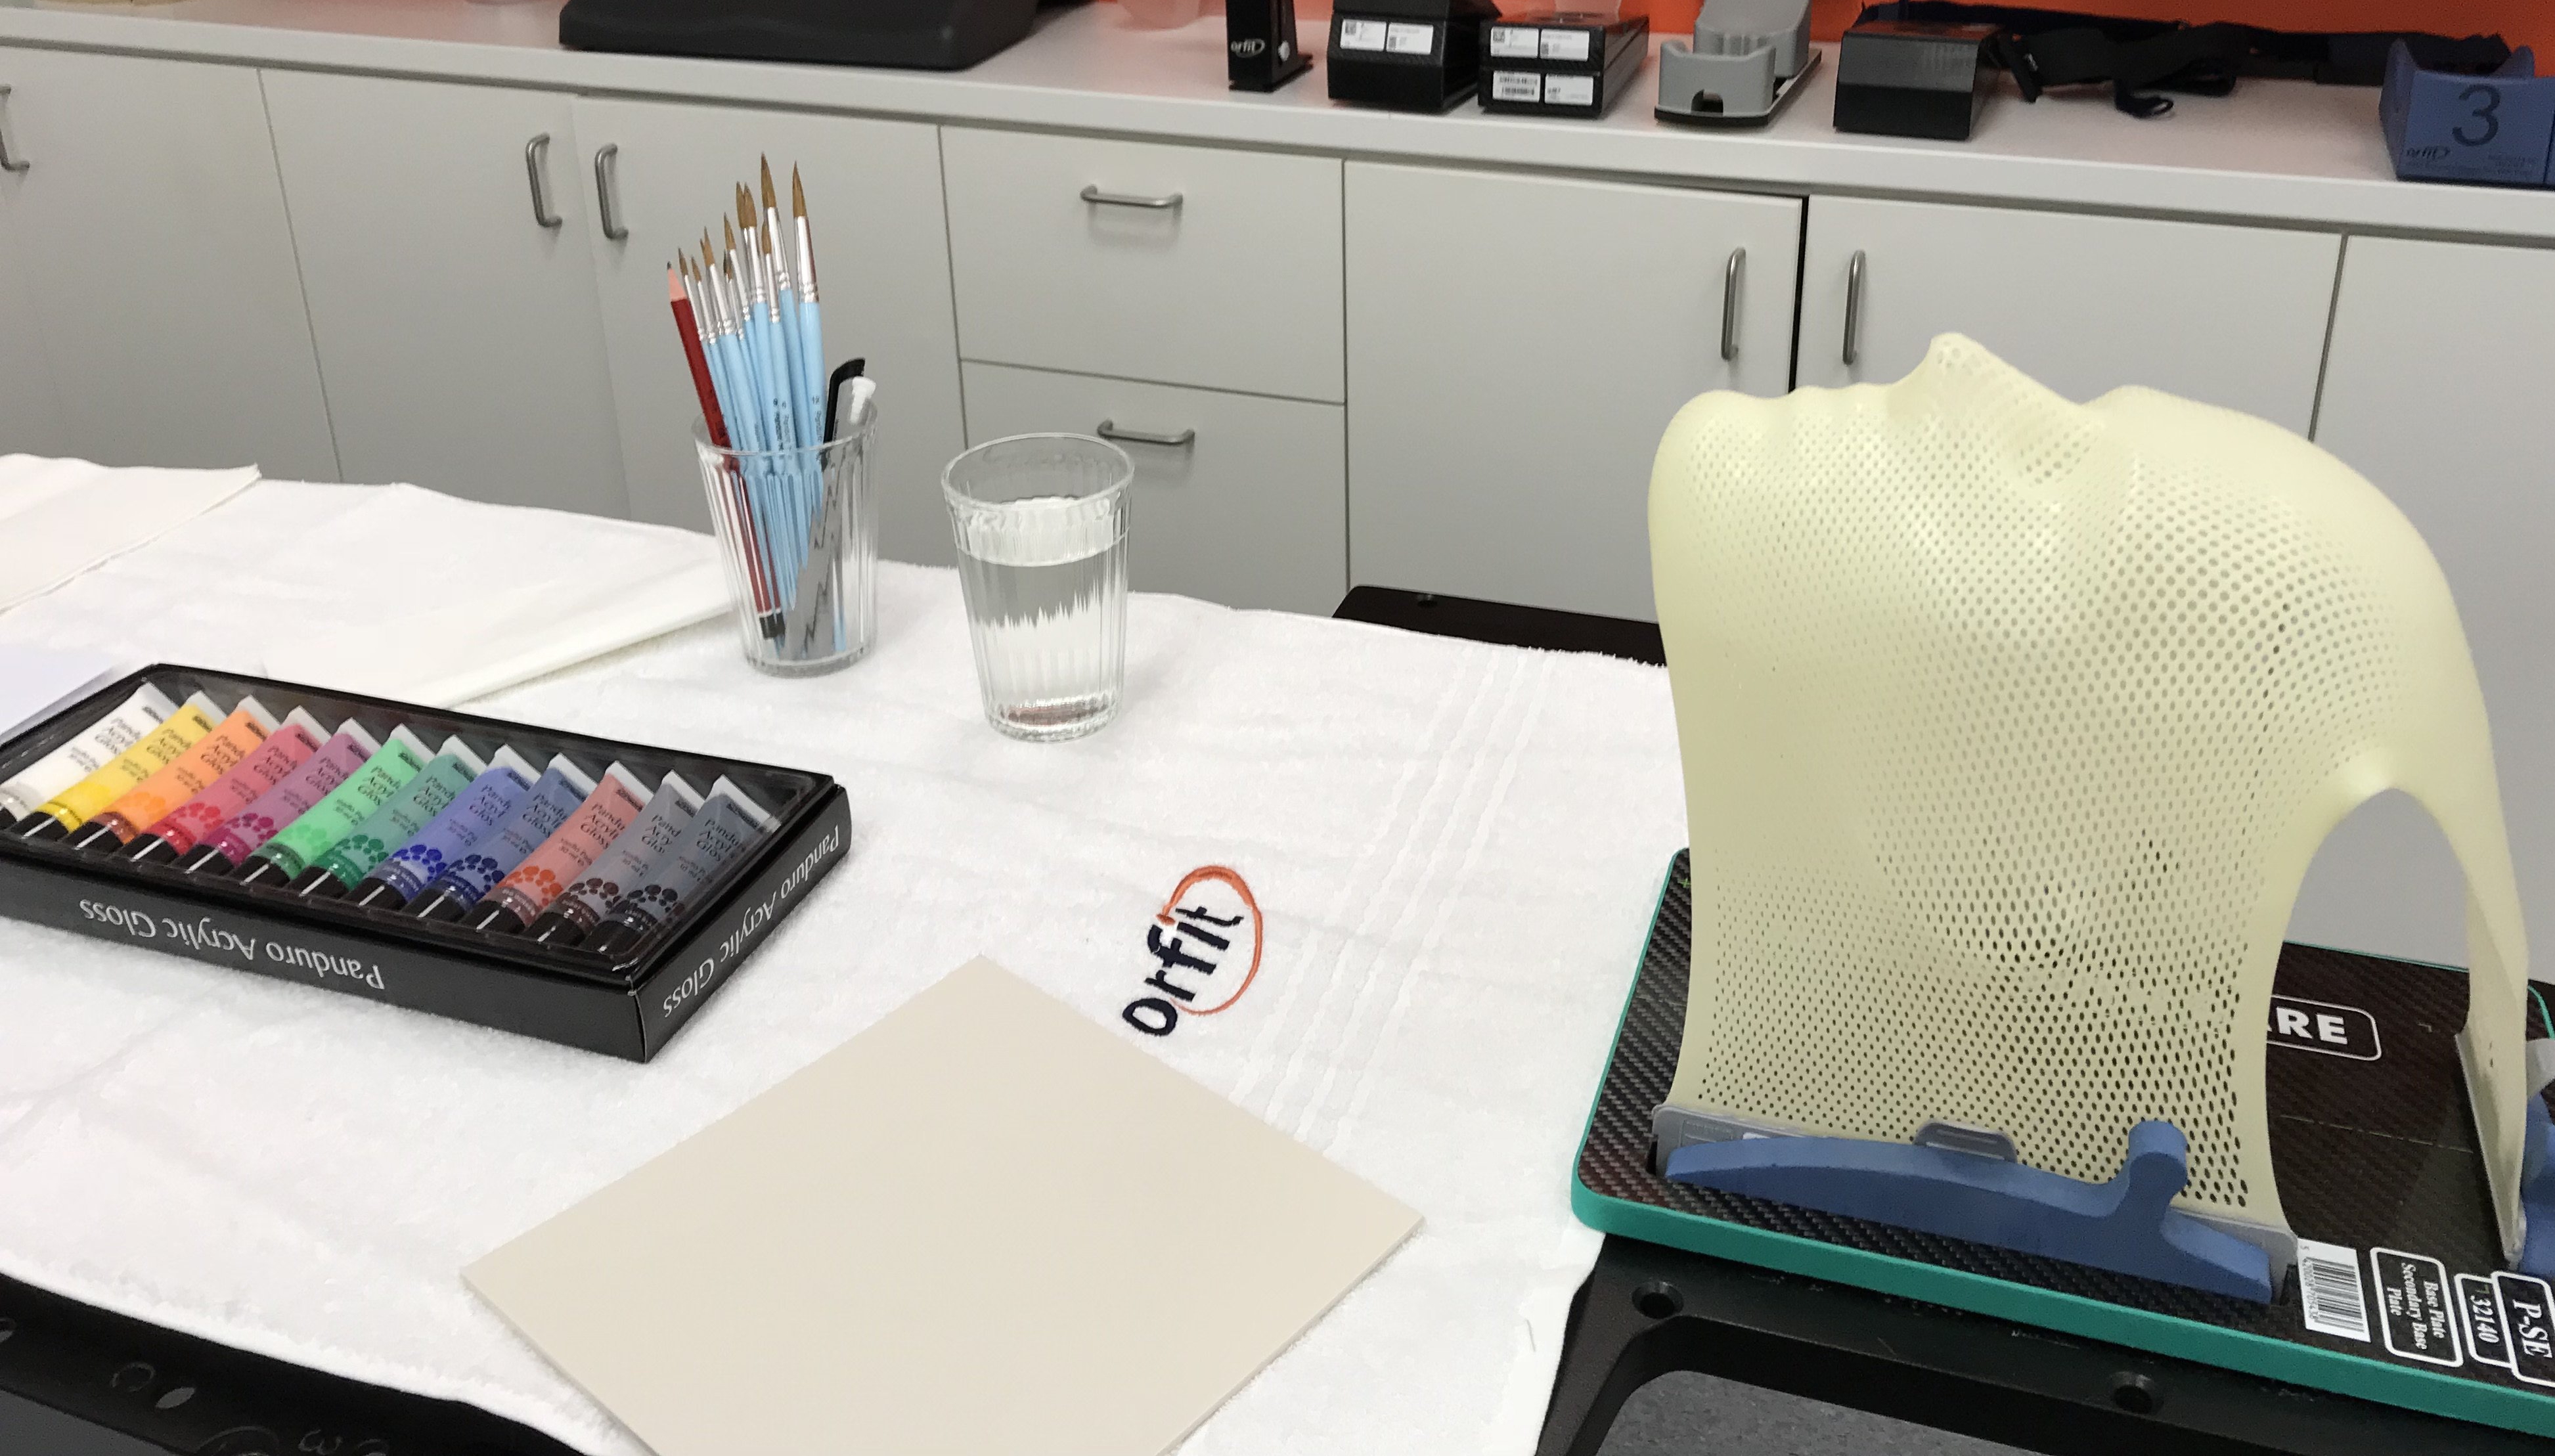
Set-up:
Organize your materials and secure the thermoplastic mask. (For this tutorial we used a micro perforated 3-points Efficast mask with a nose hole. Discover our range of paediatric masks here.)
If you have a specific logo, print it out and keep the print close by as a reference.
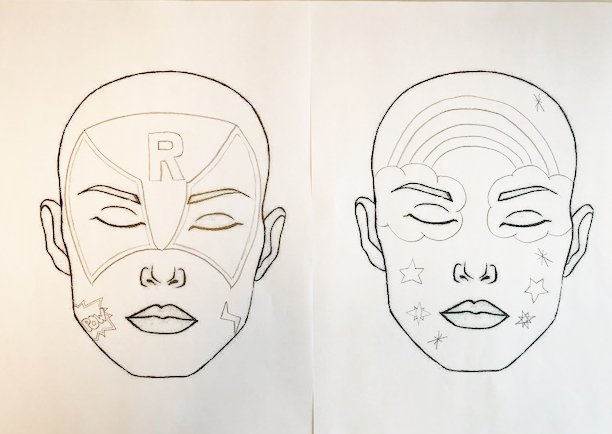
The design on paper:
Ask the patient about his or her favourite thing, it can be a character of a cartoon, or they can really love dinosaurs or stars and rainbows.
Draw out your design on paper, for the shape of a face you can use a template for face painting.
Download the one we used here.
If you have no idea how to start the design, search for e.g. “rainbow + face painting design” on the internet. Guaranteed you’ll find great designs and/or tutorials.
Some drawing tips:
- Start by placing dots as reference points and to create symmetry.
- Keep your wrist in a loose position.
- If you feel like you can’t draw a straight line, sketch your line by making short strokes.
- Remember you have your eraser on hand to correct any mistake.
- Take a step back once in a while to check the proportions and adjust if necessary.
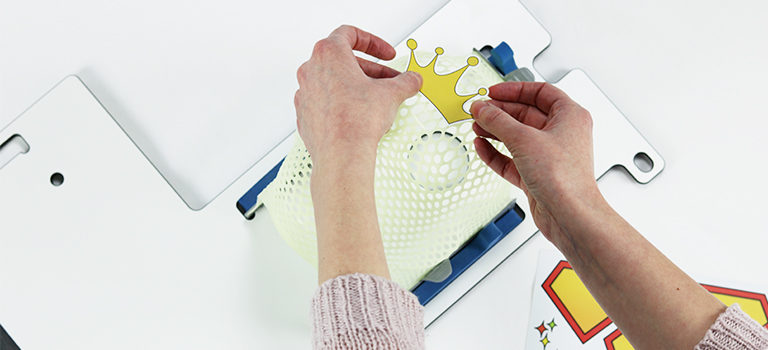
Let’s get started!
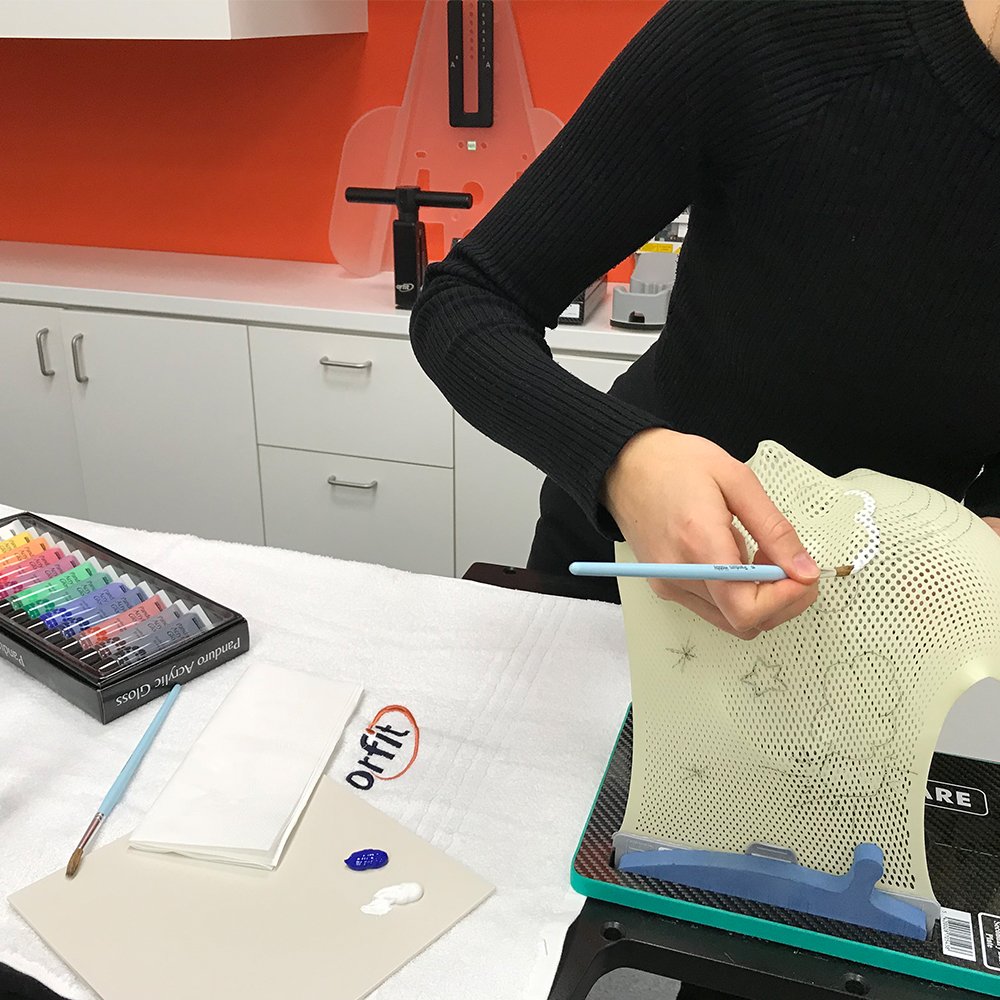
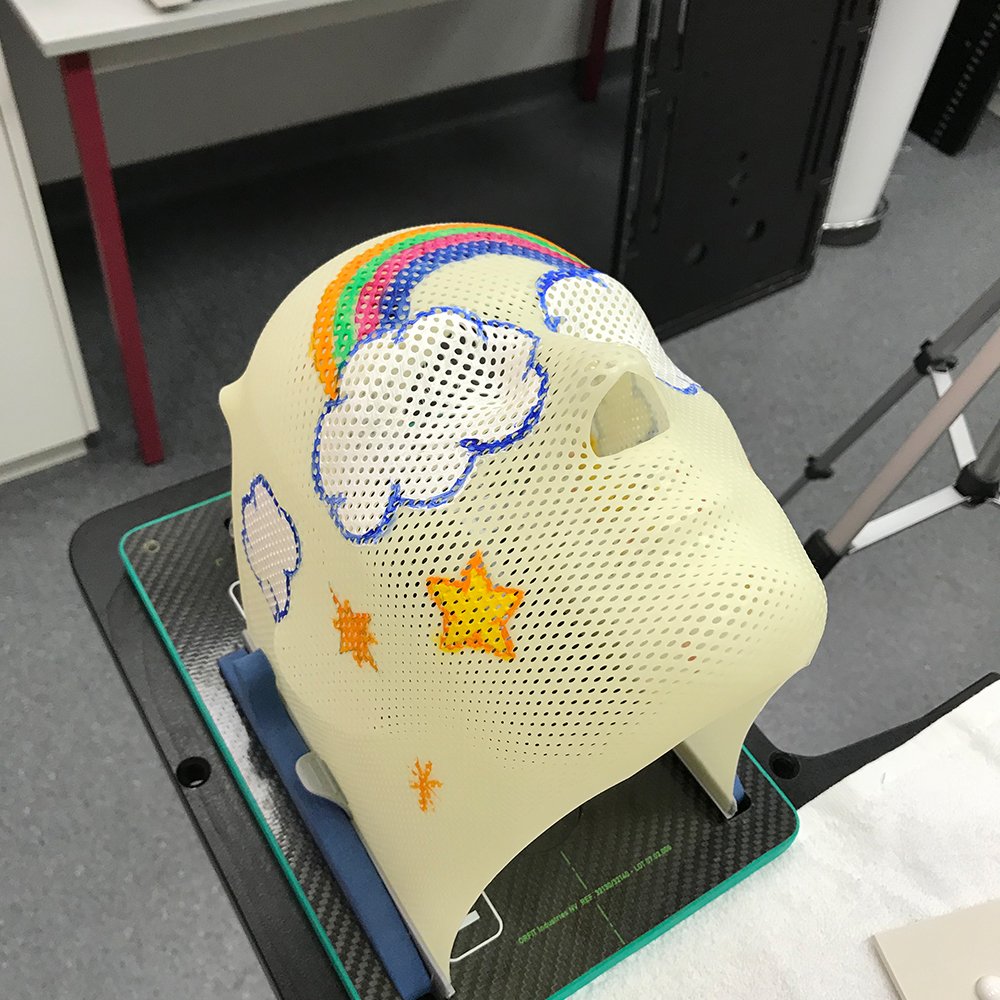
Take you marker or pencil and draw the outlines of your design on the mask. If you make a mistake just dip your cloth into the water and wipe it right off. Or in case of a pencil, use an eraser. Keep one eye on your design on paper and copy on the mask.
Put a small amount of paint on the paper plate or piece of cardboard. For the clouds we used white and marine blue.
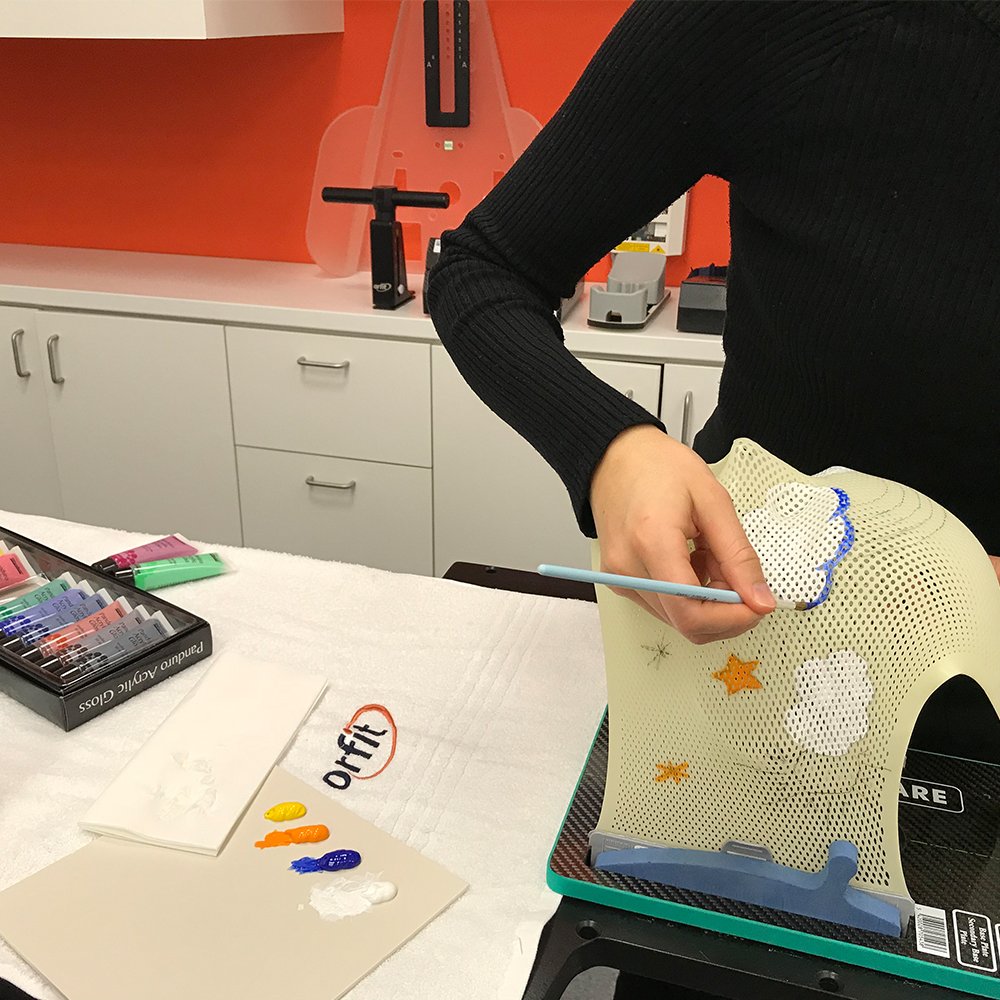
Dip your paintbrush in the water, wipe it on the towel to remove excess water and pick up some paint. When painting, you build from the bottom up. Choose the base colour for your clouds, first draw the outlines and then fill in. Let it dry.
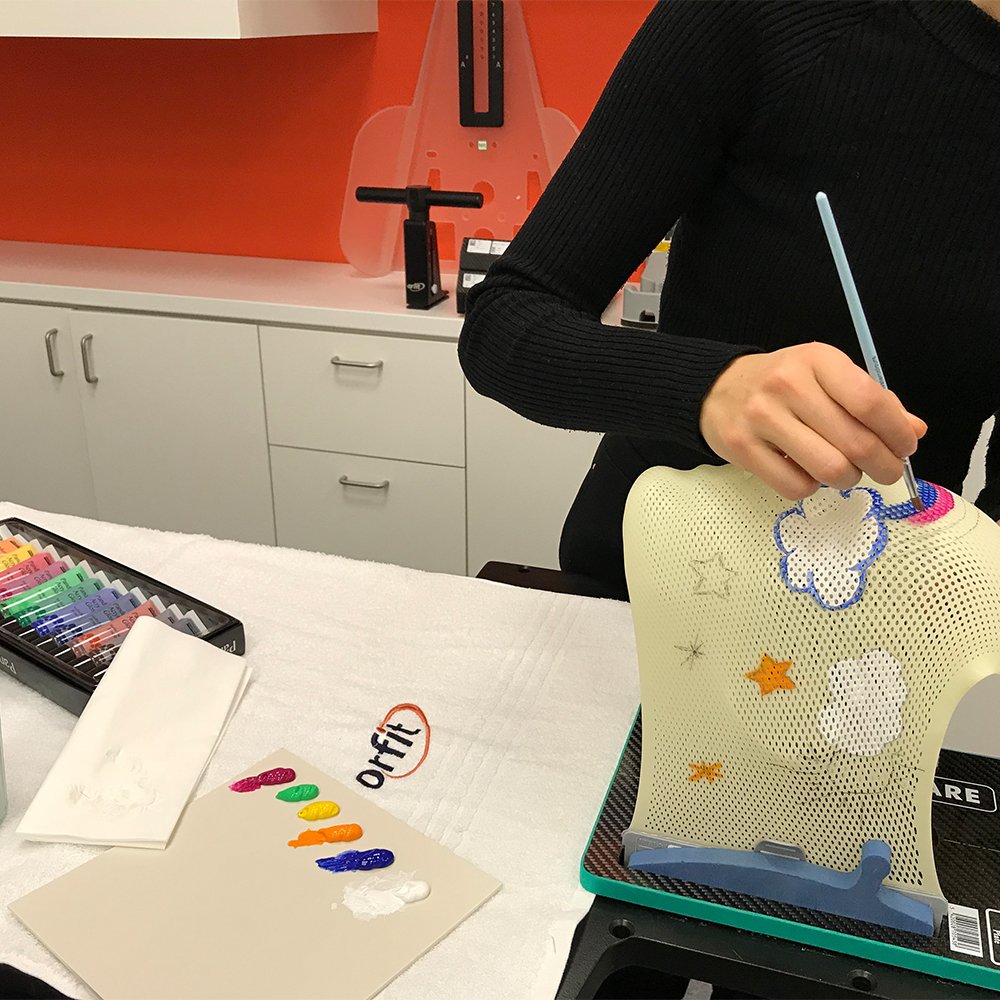
To create a lively cloud, we paint the outlines with a different colour. If you use a little more water with the second colour, you will pick up the base colour and create dept.
Paint with small and slow strokes, try not to overlap on the colour next to it. For the rainbow we used, Marine blue, Rose, Emerald green and Orange yellow.
Optional: after painting the main features you can fill out the mask with colour or a surrounding. If you feel that you don’t have enough coverage, try to use less water and paint a second or third layer.
For the stars and the sun we used, Primary yellow and Orange yellow.
Disclaimer: Always make sure that the materials used will not interfere with the treatment. Orfit is not responsible for any consequences of not following the guidelines above.

Contact us for more product information or find your local distributor here.

If you’d like to receive the latest product updates and interesting Orfit news, subscribe to our newsletter: