Do you want to increase your efficiency in orthotic fabrication? We have got you covered!
Often you may have little time between patients and in fact, patients often have overlapping appointments. Therefore, you could benefit from an increase in efficiency with your treatments and orthotic fabrication.
While the fabrication process and molding of an orthosis on a patient should never be rushed, there are a few steps that can help you limit the time it takes to prepare the material for each orthosis.
Here we outline 5 basic steps you can take to streamline your orthotic fabrication process:
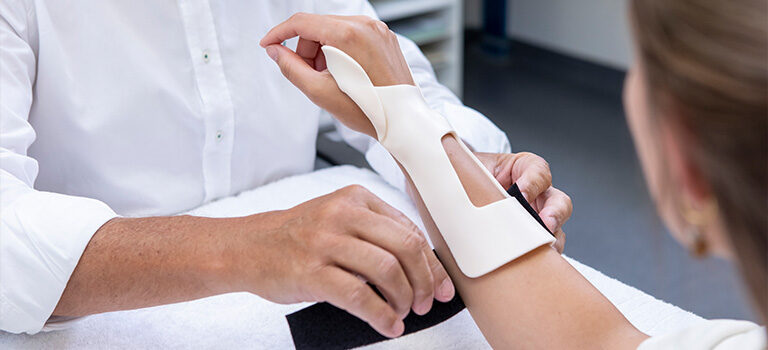
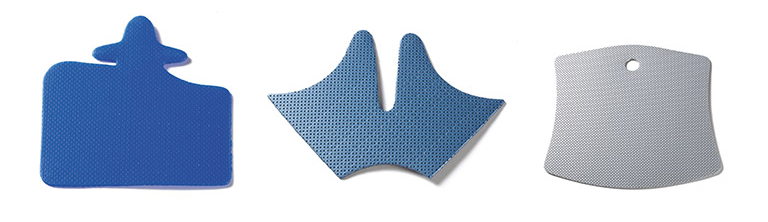
1. Use pre-cut patterns
Our pre-cut patterns meet the needs of many different clinical diagnoses. Pre-cut orthoses are not to be confused with prefabricated or pre-molded orthoses. The use of a pre-cut eliminates the need for making a pattern, as well as:
- Checking the pattern on the patient’s hand
- Tracing the pattern onto the sheet material
- Cutting out the pattern
See how many steps can be eliminated? Once you have mastered the specific techniques of molding each of the Orfit pre-cuts, you will see how their use can greatly benefit your patients and save you time.
Our pre-cuts are available in multiple different materials and sizes. And you can find helpful step-by-step tutorials for each pre-cut in the Splinting Guide.
Using a pre-cut will eliminate the need to make a pattern, allowing you to work more quickly and efficiently.
2. Create your own custom templates
Do you and your colleagues tend to make the same orthotic design repeatedly? Then you might want to consider creating a template of your design and precutting material into this pattern.
This will in effect create your own clinic’s version of pre-cuts and the same advantages as listed above apply. Templates can be created out of older sheet material, heavy-duty cardboard, or old x-rays.
3. Precut sheet material into individual sizes
Determine the most common orthoses that you fabricate from each sheet of material. Then precut the sheet into the maximum number of individual squares or rectangles based on the thickness and size required.
Make thermoplastic sheets ready-to-go by precutting them in individual squares and rectangles.
For example, from a sheet of Orfit Eco Black NS 3.2 mm (1/8”) you could reasonably make 6 resting hand orthoses (6 rectangles of 30 cm x 15 cm /12” x 6”). You might cut a sheet of 2.4 mm (1/12”) into 8 smaller rectangles for hand-based or thumb orthoses. By precutting the sheet into the rectangles in advance, you will not need to use a utility knife to cut out a smaller piece of material during the patient session.
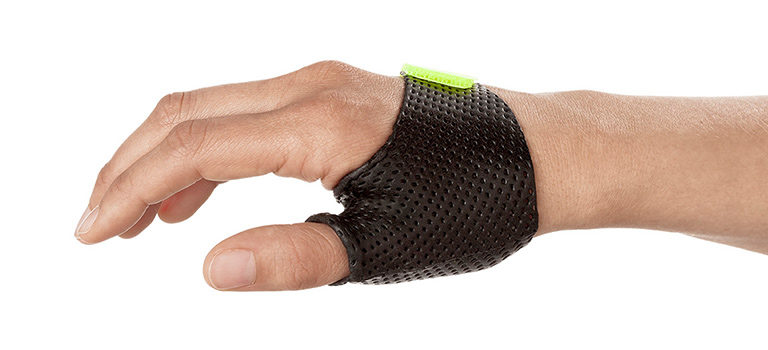
4. Precut the adhesive-backed hook
Cutting small squares or rectangles of the adhesive-backed hook and then rounding the corners takes time. But having a small container with multiple pre-cut pieces in place ready to attach to each orthosis saves time and effort.
You and your colleagues can do this task together at the end of the week or during a meeting. The scissors that would typically get full of the glue residue can then be cleaned just once afterwards and not during the patient session. Be sure to create different sizes to match the needs of different orthoses.
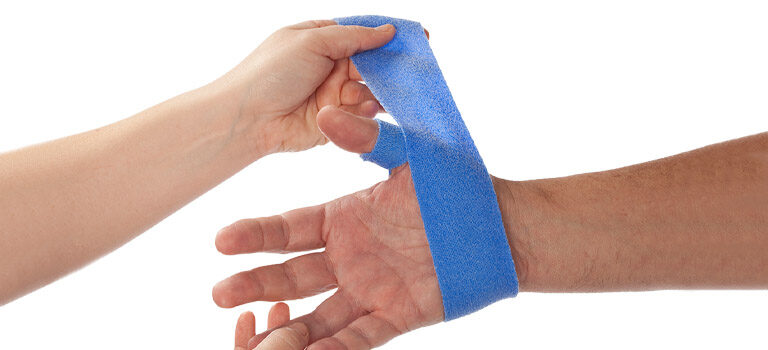
You can also precut the loop strap material into smaller pieces. Be sure to save all leftovers.
5. Keep your workspace clean and well-organized
This is perhaps the most important tip we can offer.
Put everything away as soon as you are finished so that the next time around, all tools are where they are supposed to be.
- Store the container of adhesive-backed hook squares near the loop straps
- Have plenty of working space
- Keep the scissors sharpened and clean as needed
- Throw away scraps that cannot be reused
- Keep scraps that you can reuse in a container or box nearby
Proper organization of your workspace will help you to be efficient. So, check your surroundings and make sure to place everything in appropriate proximity to where you will use it. Rearrange as needed to make the best use of your space. Keep a good inventory of the items that you use most often.
In conclusion
All these factors will help you expedite your orthotic fabrication and increase your efficiency. And then you can and should spend as much time as needed in the molding of the orthosis and patient education.


Written by Debby Schwartz, OTD, OTR/L, CHT
Physical Rehabilitation Product and Educational Specialist at Orfit Industries America.
Debby is a certified hand therapist with over 36 years of clinical experience. She completed her Doctorate of Occupational Therapy at Rocky Mountain University of Health Professions in 2010. She has worked at Orfit Industries America as Product and Educational Specialist since 2007.
Debby is also an adjunct professor at the Occupational Therapy Department of Touro College in NYC and has written many book chapters in the field of hand therapy and multiple articles for hand therapy journals, including the ASHT Times and the Journal of Hand Therapy. She has published a new textbook on orthotic fabrication together with Dr. Katherine Schofield, entitled “Orthotic Design and Fabrication for the Upper Extremity: A Practical Guide”.
Debby’s Google Scholar